Hyundai Genesis (DH): Front Seat Belt / Front Seat Belt Buckle Repair procedures
Hyundai Genesis (DH) 2013-2016 Service Manual / Body (Interior and Exterior) / Front Seat Belt / Front Seat Belt Buckle Repair procedures
| Replacement |
| 1. |
Remove the front seat assembly.
(Refer to Front Seat - "Front Seat Assembly") |
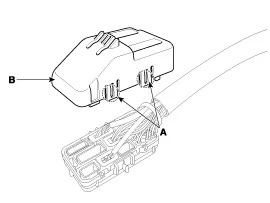
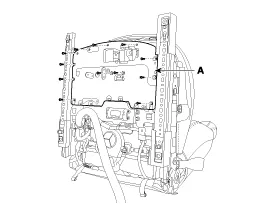
| 2. |
Remove the two fixing clips using a flat-tip screwdriver, and then remove the front seat integration connector cover (B).
|
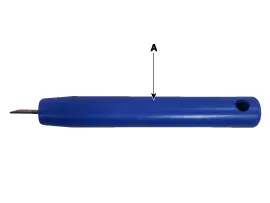
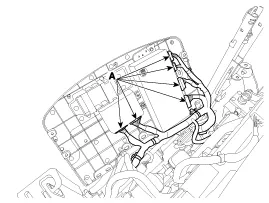
| 3. |
To remove the front seat belt buckle connector, use a sharp-pointed tool (A) like the picture below.
|
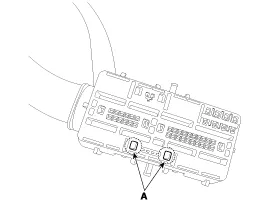
| 4. |
To remove the front seat belt buckle connector, put the
sharp-pointed tools into the two holes in the front seat belt buckle
connector.
|
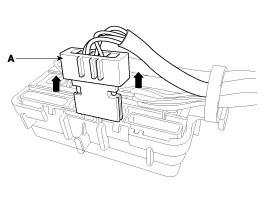
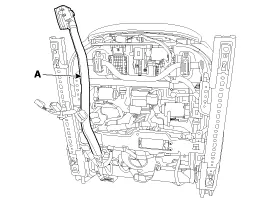
| 5. |
Pull up the front seat belt buckle connector (A).
|
| 6. |
Disconnect the connectors (A). |
| 7. |
After loosening the mounting screws, remove the memory power seat unit (B).
|

| 8. |
After loosening the mounting screws, remove the front seat under cover (A).
|
| 9. |
Disconnect the memory power seat unit connectors (A).
|
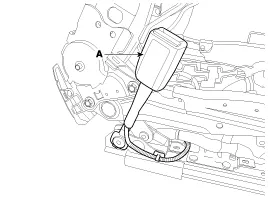
| 10. |
Remove the front seat belt buckle connector wiring harness (A).
|
| 11. |
After loosening the mounting bolt, remove the front seat belt buckle (A).
|
| 12. |
Install in the reverse order of removal.
|

