Hyundai Genesis (DH): Cooling System / Water Temperature Control Assembly Repair procedures
| Removal and Installation |
| 1. |
Disconnect the battery "-" terminal from the trunk room. |
| 2. |
Remove the engine room under cover.
(Refer to Engine And Transaxle Assembly - "Engine Room Under Cover") |
| 3. |
Drain the coolant.
(Refer to Cooling System - "Coolant") |
| 4. |
Remove the air cleaner assembly.
(Refer to Intake and Exhaust System - "Air cleaner") |
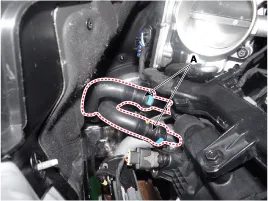
| 5. |
Disconnect the radiator lower hose (A).
|

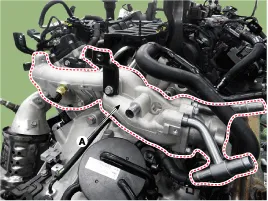
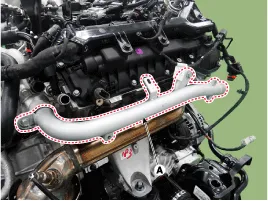
| 6. |
Remove the water inlet pipe (A).
|
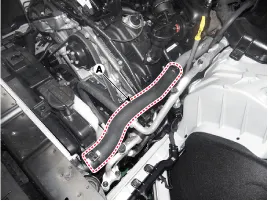
| 7. |
Disconnect the radiator upper hose (A).
|
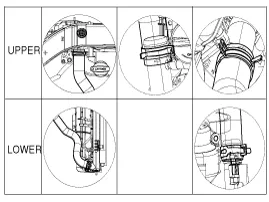
| 8. |
Disconnect the engine wiring harness.
|
| 9. |
Remove the oil level gauge. |
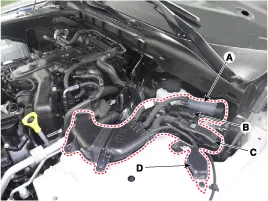
| 10. |
Remove the water outlet pipe & hose (B) and then oil level gauge (A).
|
| 11. |
Remove the surge tank.
(Refer to Intake And Exhaust System - "Surge Tank") |
| 12. |
Remove the cowl top cover. |
| 13. |
Remove the engine room bulkhead (A).
|

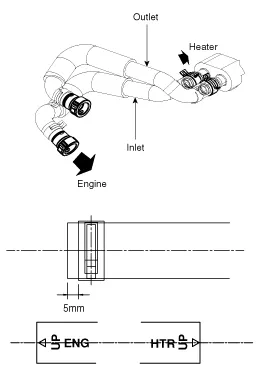
| 14. |
Disconnect the heater inlet & outlet hose (A).
|
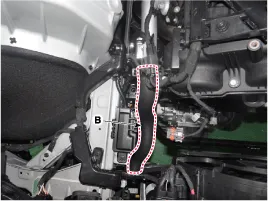
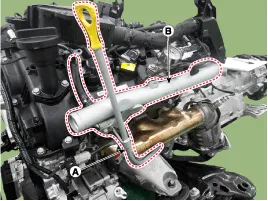
| 15. |
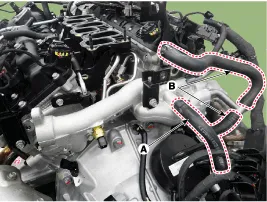
Remove the ATF cooler hose (A), heater hose (B).
|
| 16. |
Remove the water temperature control assembly (A) and th the gaskets.
|