
Hyundai Genesis (DH): Automatic Transmission Control System / Shift Lever Repair procedures
Hyundai Genesis (DH) 2013-2016 Service Manual / Automatic Transmission System (SBC) / Automatic Transmission Control System / Shift Lever Repair procedures
| Removal |
| 1. |
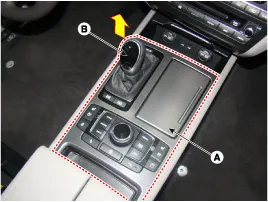
Remove the console upper cover (A). |
| 2. |
Pull the shift lever knob (B) upward to remove it.
|
| 3. |
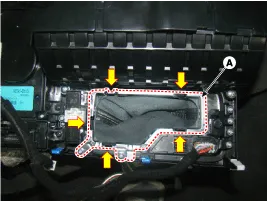
Remove the knob&boots(A) from the console upper cover.
|
| 4. |
Remove the floor console.
(Refer to Body - "Floor Console") |
| 5. |
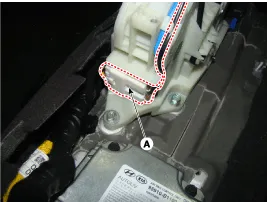
Disconnect the connector (A) from the shift lever.
|
| 6. |
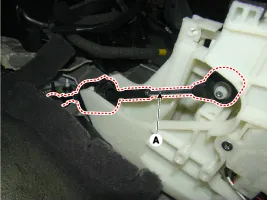
Disconnect the shift cable (A) from the shift lever.
|
| 7. |
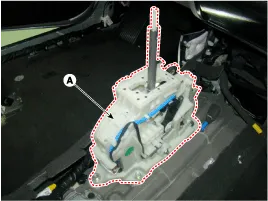
Remove the shift lever assembly (A) by removing the four bolts.
|
| Installation |
| 1. |
To install, reverse the removal procedure. |
Components 1. Shift lever knob2. Shift lever boots3. Shift lever assembly4. Shift cable
Components 1. Shift lever knob2. Shift lever boots3. Shift lever assembly4. Shift cable
Categories
- Manuals Home
- Hyundai Genesis Owners Manual
- Hyundai Genesis Service Manual
- Parking Assist Sensor Repair procedures
- Description and Operation
- Starter Repair procedures
- New on site
- Most important about car

Copyright В© 2026 www.hgenesisdh.com - 0.0232