
Hyundai Genesis (DH): Hood / Hood Latch Components and Components Location
| Component Location |
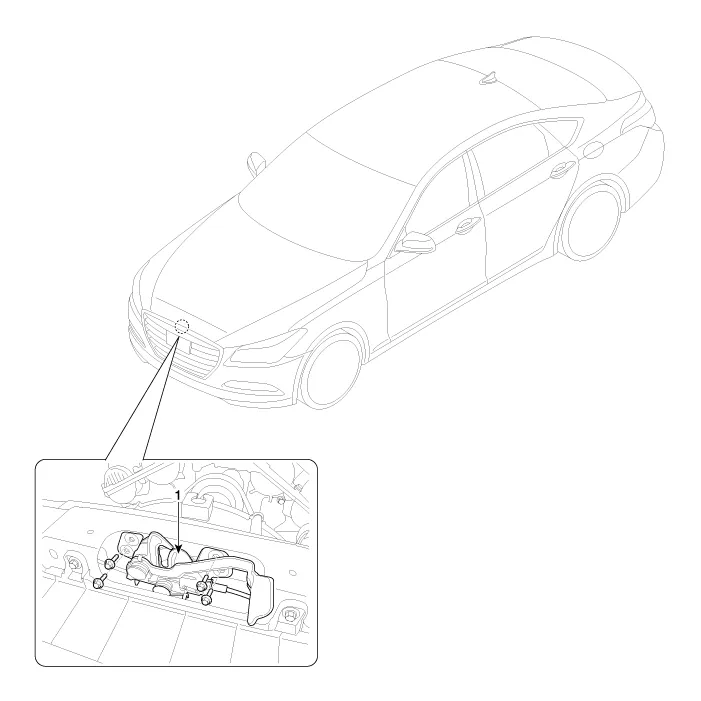
| 1. Hood latch assembly |
Replacement 1. After loosening the mounting screw, remove the hood latch release handle (A). 2. Install in the reverse order of removal.
Replacement 1. Remove the front bumper. (Refer to Front bumper - "Front bumper cover") 2. Remove the active air flap (AAF). (Refer to Engine Mechanical System - "Active Air Flap(AAF)") 3.
Other information:
Hyundai Genesis (DH) 2013-2016 Service Manual: LKAS Unit Repair procedures
Removal 1. Disconnect the negative (-) battery terminal. 2. Remove the mirror wiring cover (A) and rain sensor cover (B). 3. Remove the LKAS unit connector (A). 4. Remove the LKAS unit after disengaging the mounting bracket (A). Installation 1.
Hyundai Genesis (DH) 2013-2016 Service Manual: Receiver-Drier Repair procedures
Replacement 1. Remove the condenser. 2. Remove the cap (B) on the bottom of the condenser with the L wrench (A). Tightening torque : 9.81 ~ 14.71 N.m (1.0 ~ 1.5 kgf.m, 7.2 ~ 10.8 lb-ft) 3. Remove the receiver-drier (A) from condenser using a long nose plier.
Categories
- Manuals Home
- Hyundai Genesis Owners Manual
- Hyundai Genesis Service Manual
- Repair procedures
- Components and Components Location
- Brake System
- New on site
- Most important about car
