Hyundai Genesis (DH): Windshield Wiper/Washer / Head Lamp Washer Motor Repair procedures
Hyundai Genesis (DH) 2013-2016 Service Manual / Body Electrical System / Windshield Wiper/Washer / Head Lamp Washer Motor Repair procedures
| Removal |
Head Lamp Washer Motor
|

| 1. |
Disconnect the negative (-) battery terminal. |
| 2. |
Remove the right wheel house cover. |
| 3. |
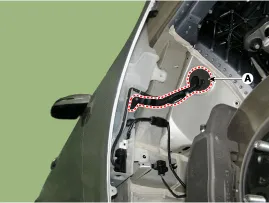
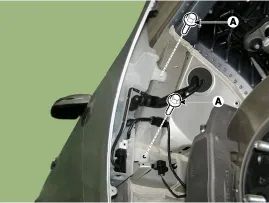
Remove the hose (A) for washer reservoir inlet.
|
| 4. |
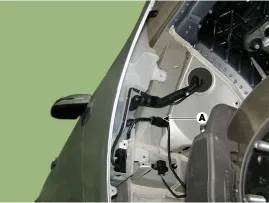
Disconnect the connector (A).
|
| 5. |
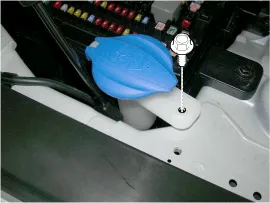
Remove the reservoir washer inlet (A) after loosening the mounting bolt.
|
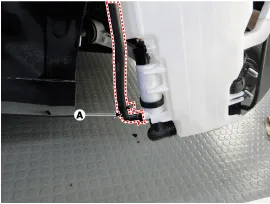
| 6. |
loosening the mounting bolt (A).
|
| 7. |
Remove the washer reservoir. |
| 8. |
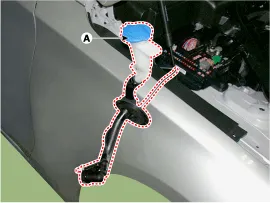
Remove the head lamp washer hose (A)
|
| 9. |
Remove the connector mounting bracket (A) after loosening the screws.
|
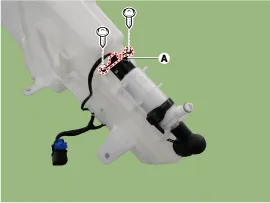
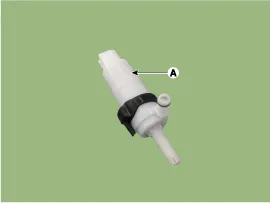
| 10. |
Remove the head lamp washer motor (A) after disconnect the head lamp washer motor connector (A).
|
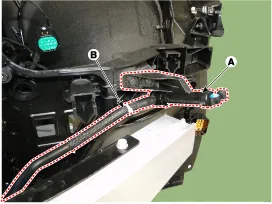
Head Lamp Washer Actuator
| 1. |
Disconnect the negative (-) battery terminal. |
| 2. |
Remove the front bumper cover.
(Refer to Body - "Front Bumper Cover") |
| 3. |
Remove the head lamp washer actuator (A) after loosening the mounting bolts and remove the hose (B).
|
| Installation |
Head Lamp Washer Motor
| 1. |
Reassemble the washer reservoir.
|

| 2. |
Install the washer reservoir. |
| 3. |
Connect the washer motor connector and washer hose. |
| 4. |
Reassemble the right wheel house cover. |
Head Lamp Washer Actuator
| 1. |
Install the head lamp actuator and hose. |
| 2. |
Install the front bumper cover. |
| 3. |
Connet the negative (-) battery terminal. |
Inspection Front Washer Motor 1. With the washer motor connected to the reservoir tank, fill the reservoir tank with water. Before filling the reservoir tank with water, check the filter for foreign material or contamination.
Components and Components Location 1. Horizontal light sensor2. Vertical light sensor3. Solar load sensor4. Rain sensor - left5. Rain sensor - right
Other information:
Hyundai Genesis (DH) 2013-2016 Service Manual: Blind Spot Detection Indicator Components and Components Location
C
Hyundai Genesis (DH) 2013-2016 Service Manual: Blower Motor Repair procedures
Inspection 1. Connect the battery voltage and check the blower motor rotation. 2. If the blower motor does not operate well, replace it with a genuine blower motor check for proper operation. 3. Replace the blower motor if it is proved that there is a problem with it.
Categories
- Manuals Home
- Hyundai Genesis Owners Manual
- Hyundai Genesis Service Manual
- Emission Control System
- 4 Wheel Drive (AWD) System
- Brake System
- New on site
- Most important about car

Copyright © 2026 www.hgenesisdh.com - 0.024