
Hyundai Genesis (DH): Body Dimensions / Under Body Body Repair
| Projected Dimensions |
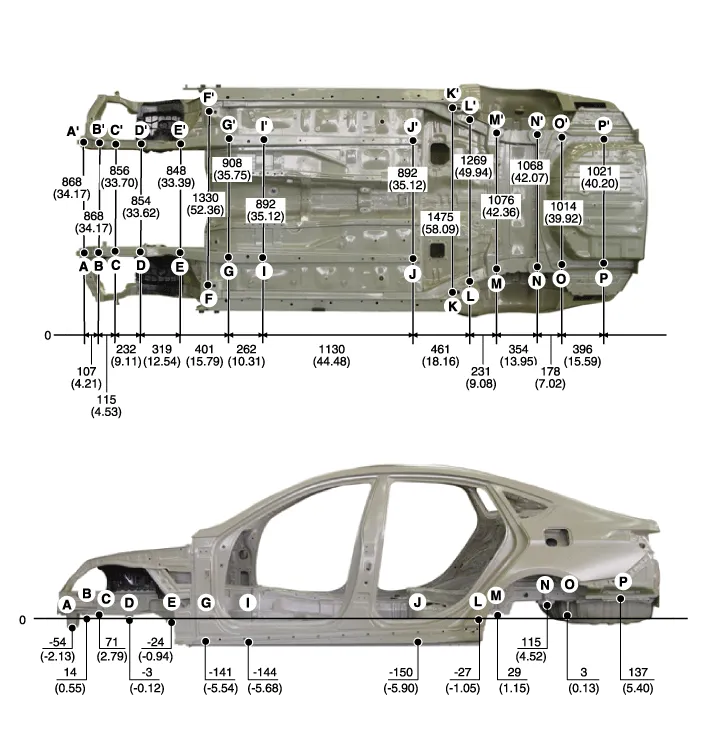
| * These dimensions indicated in this figure are actual-measurement dimensions. [ Unit : mm (inch) ] |
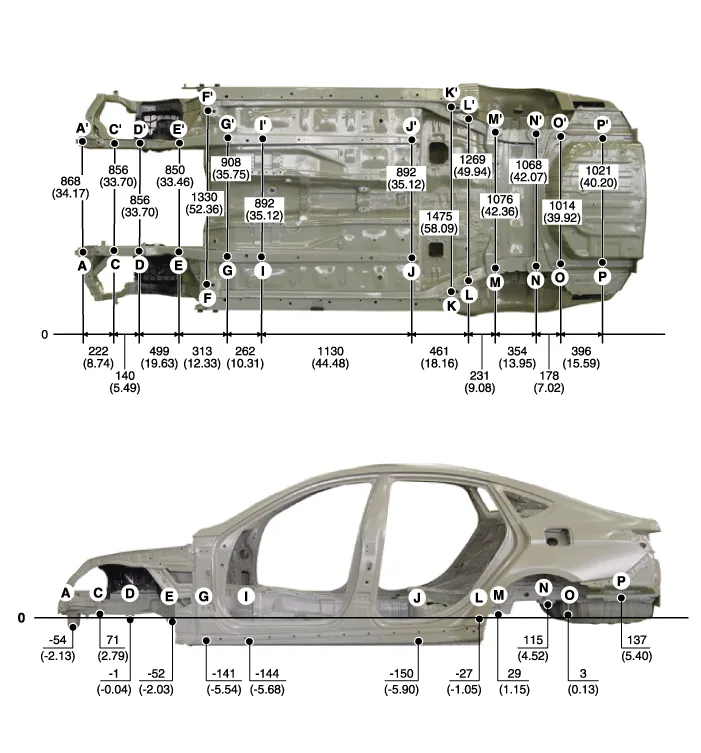
| Actual Measurement Dimensions |
| * These dimensions indicated in this figure are actual-measurement dimensions. [ Unit : mm (inch) ] |
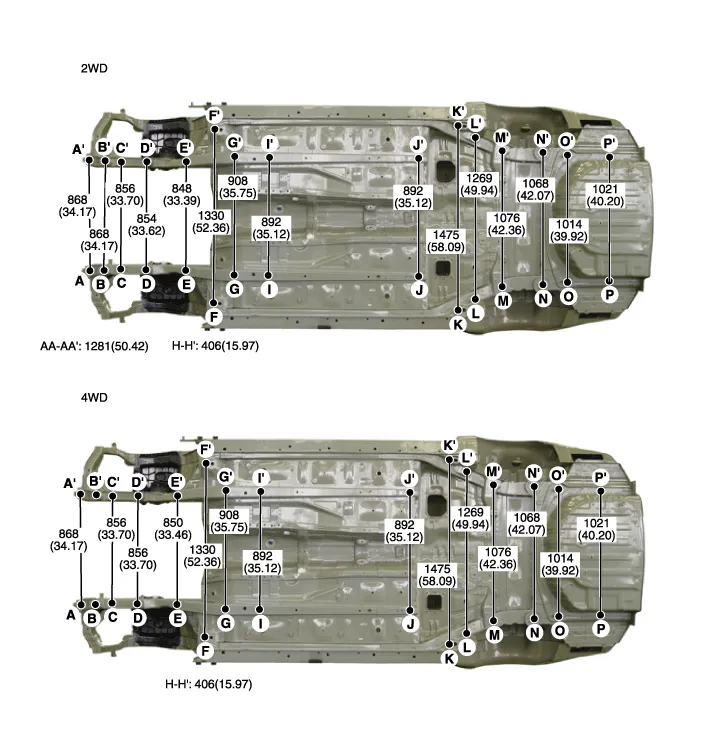
| * These dimensions indicated in this figure are actual-measurement dimensions. [ Unit : mm (inch) ] |
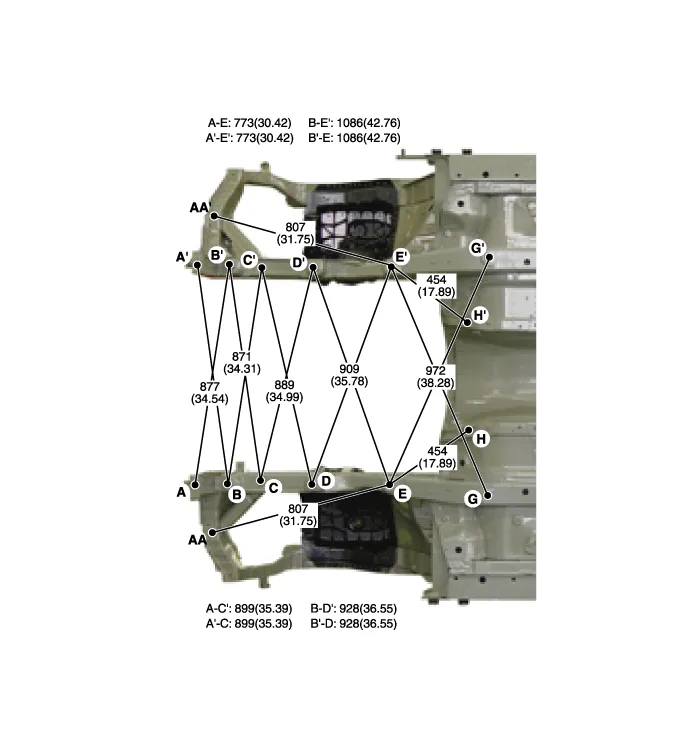
| * These dimensions indicated in this figure are actual-measurement dimensions. [ Unit : mm (inch) ] |
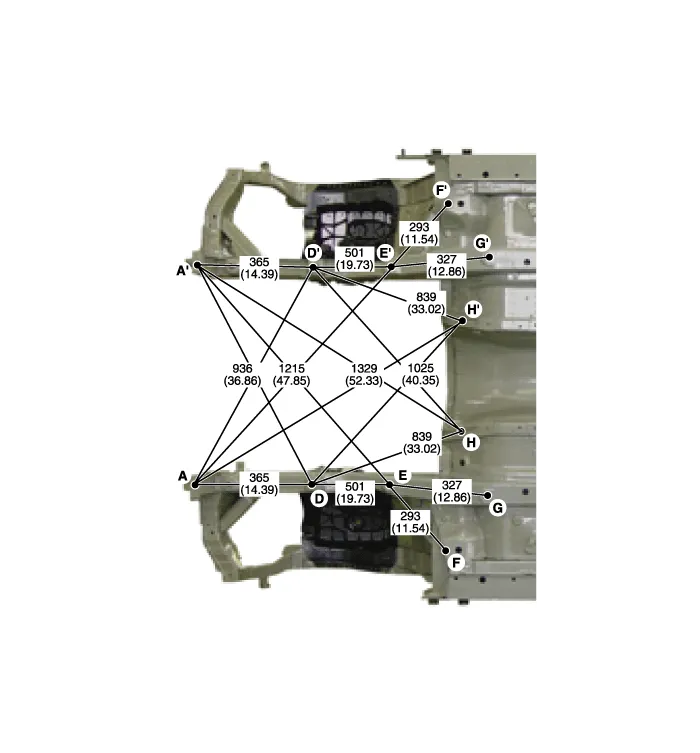
| * These dimensions indicated in this figure are actual-measurement dimensions. [ Unit : mm (inch) ] |
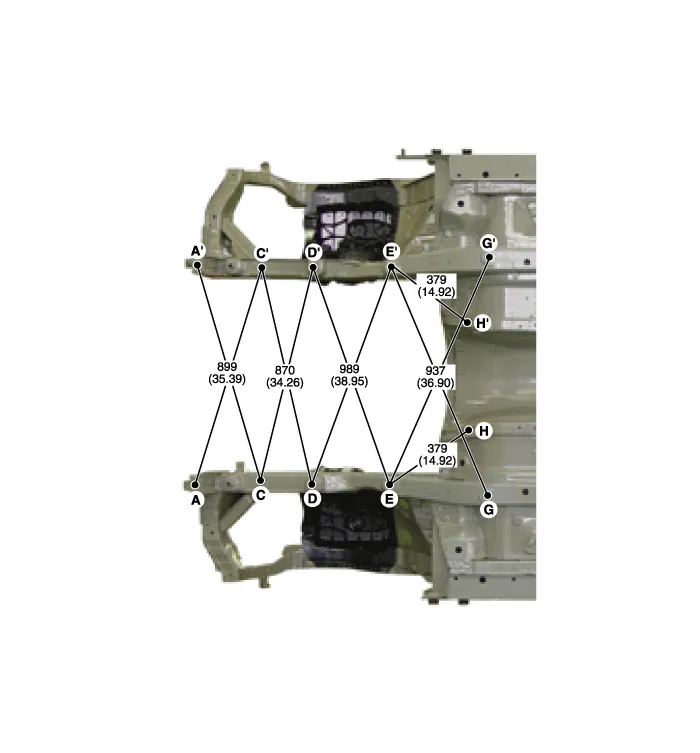
| * These dimensions indicated in this figure are actual-measurement dimensions. [ Unit : mm (inch) ] |
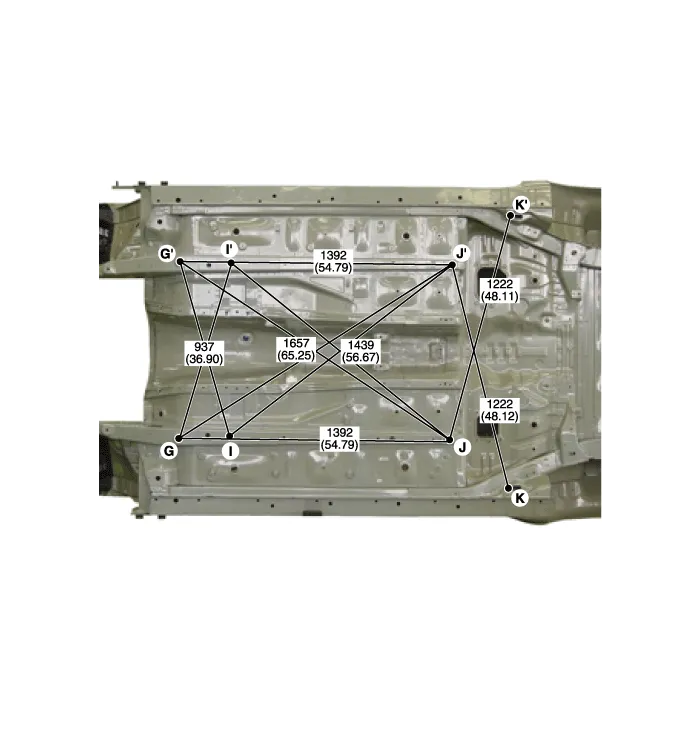
| * These dimensions indicated in this figure are actual-measurement dimensions. [ Unit : mm (inch) ] |
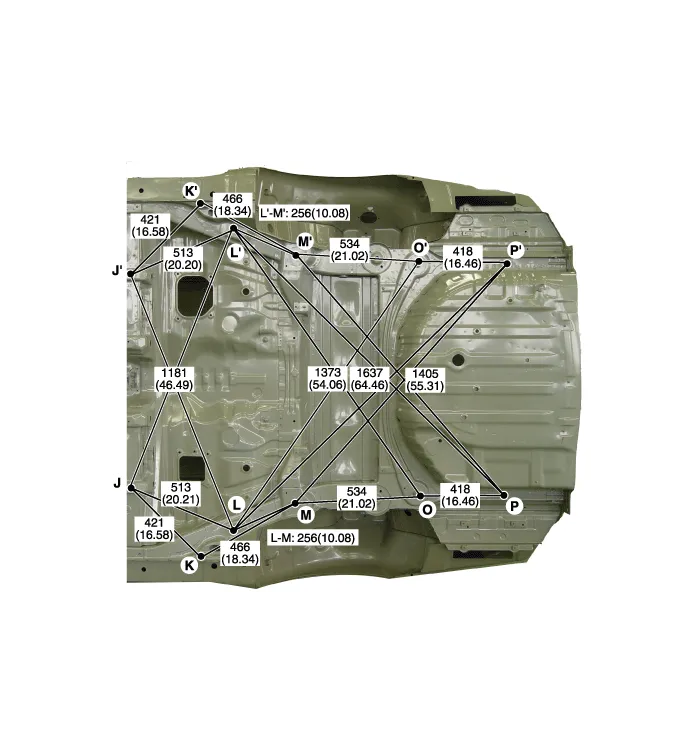
| * These dimensions indicated in this figure are actual-measurement dimensions. [ Unit : mm (inch) ] |
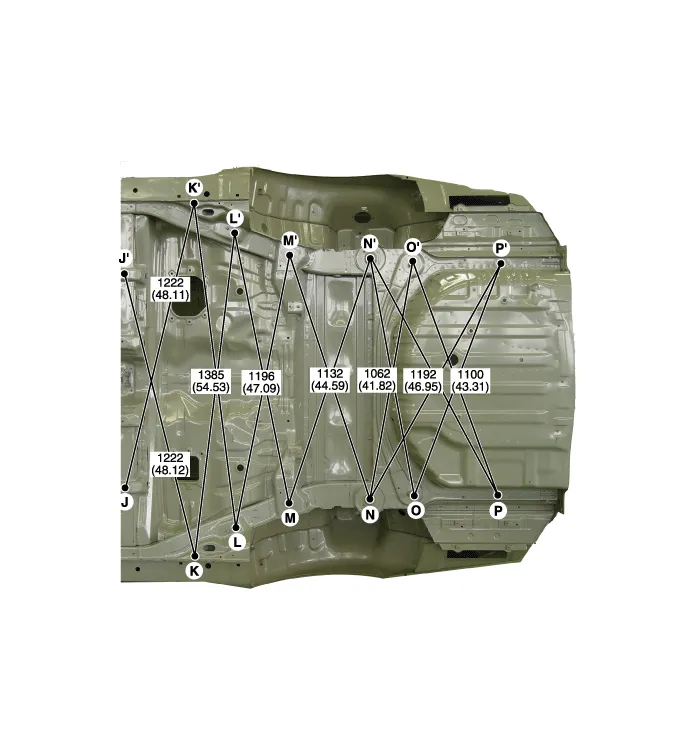
| * These dimensions indicated in this figure are actual-measurement dimensions. [ Unit : mm (inch) ] |
|
|
|
| Fender apron panel tooling hole (O16) [Only 2WD] | Fender apron panel tooling hole (O9) | Front sub frame mounting hole (O16) |
|
|
|
| Front side member tooling hole (O25) | Front sub frame mounting pipe | Front sub frame mounting hole (O16) |
|
|
|
| Floor under cover mounting hole (O6.6) | Front sub frame mounting hole (O36) | Center floor side member tooling hole (O13) |
|
|
|
| Center floor side member tooling hole (O8) | Center floor side member tooling hole (O9) | Center floor side member tooling hole (O9) |

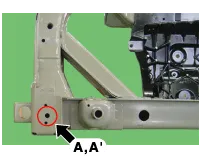
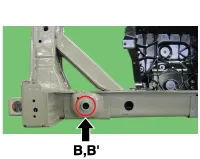
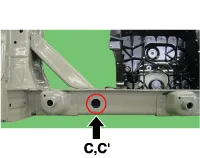
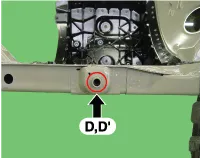
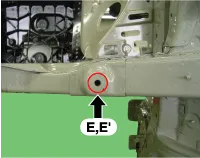
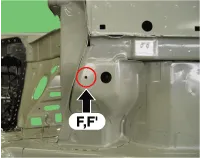
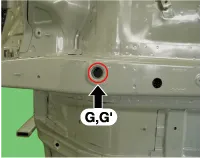
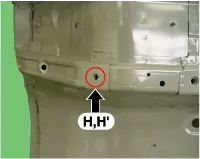
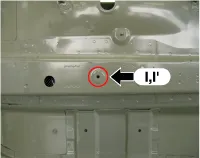
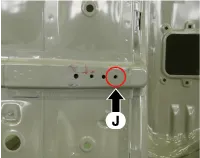
|
|
|
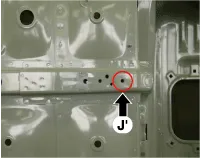
| Side sill inner rear panel tooling hole (O8) | Rear floor side member tooling hole (O16) | Rear sub frame mounting pipe |
|
|
|
| Rear sub frame mounting pipe | Rear suspension spring mounting hole (O20) | Rear sub frame mounting bolt |
| ||
| Rear floor side member tooling hole (O25) |
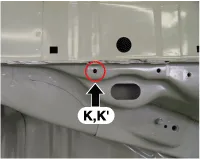
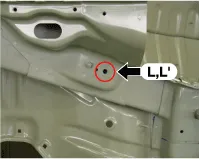

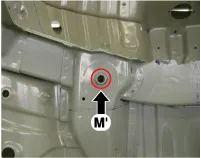

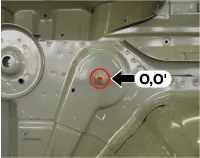
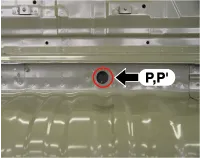
* These dimensions indicated in this figure are actual-measurement dimensions. [ Unit : mm (inch) ] Side outer panel rear corner Side outer panel rear corner Side outer panel rear corner Rear combination lamp mounting hole(O6.
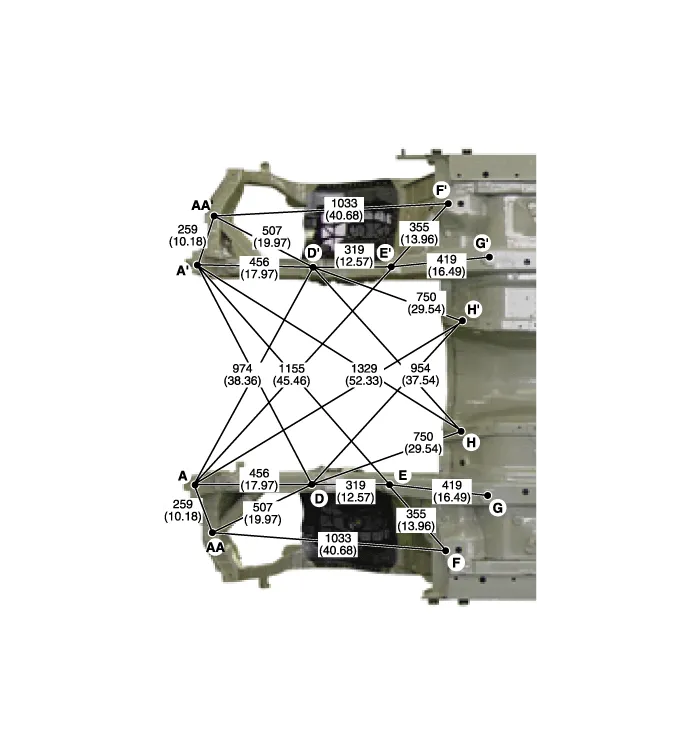
Front Cross Member * These dimensions indicated in this figure are actual-measurement dimensions. [ Unit : mm (inch) ] * These dimensions indicated in this figure are actual-measurement dimensions.
Other information:
Hyundai Genesis (DH) 2013-2016 Service Manual: Auto Defogging Actuator Description and Operation
Description The auto defogging sensor is installed on front window glass. The sensor judges and sends signal if moisture occurs to blow out wind for defogging. The air conditioner control module receives a signal from the sensor and restrains moisture and eliminates defog by the intake actuator, A/C, auto defogging actuator, blower motor
Hyundai Genesis (DH) 2013-2016 Service Manual: Heater & A/C Control Unit Repair procedures
Self Diagnosis 1. Self-diagnosis process 2. How to read self-diagnostic code After the display panel blinks three times every 0.5 second, the corresponding fault code blinks on the setup temperature display panel every 0.5 second and will show two figures.
Categories
- Manuals Home
- Hyundai Genesis Owners Manual
- Hyundai Genesis Service Manual
- Restraint
- General Information
- Engine Mechanical System
- New on site
- Most important about car
