Hyundai Genesis: Front Seat / Front Seat Cushion Cover Repair procedures
Hyundai Genesis (DH) 2013-2016 Service Manual / Body (Interior and Exterior) / Front Seat / Front Seat Cushion Cover Repair procedures
| Replacement |
|

|

| 1. |
Remove the front seat assembly.
(Refer to Front Seat - "Front Seat Assembly") |
| 2. |
Remove the front seat rear shield outer cover.
(Refer to Front Seat - "Front Seat Shield Outer Cover") |
| 3. |
Remove the front seat shield inner cover.
(Refer to Front Seat - "Front Seat Shield Inner Cover") |
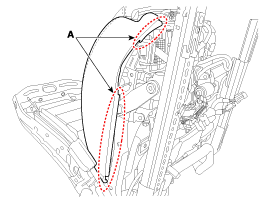
| 4. |
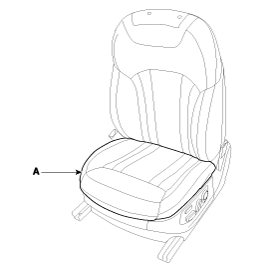
Remove the front seat side section protector (A) cushion cover.
|
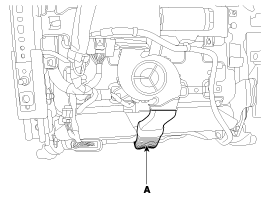
| 5. |
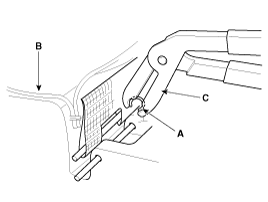
Remove the front seat air ventilation seat cushion duct (A).
|
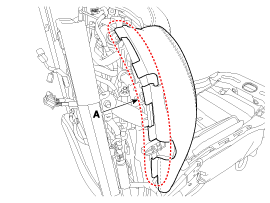
| 6. |
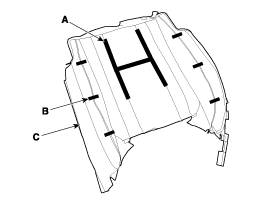
Remove the protector (A) and separate the front seat cushion cover from the front seat cushion frame (B).
|
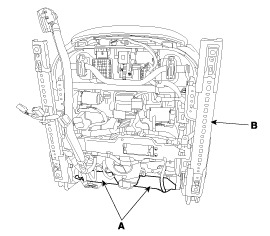
| 7. |
Remove the front seat cushion cover (A) from the front seat cushion frame.
|
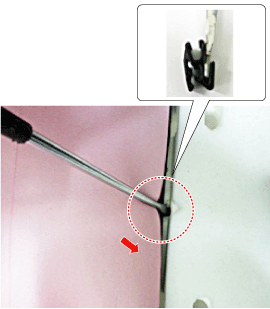
| 8. |
After removing the Velcro tape (A) and hog-ring clips (B) inside the front cushion cover, remove the seat back cover (C).
|
| 9. |
Install in the reverse order of removal.
|


 Front Seat Cushion Cover Components and Components Location
Component Location
1. Front seat cushion cover
...
 Front Seat Frame Assembly Components and Components Location
Component Location
1. Front seat back frame assembly2. Front seat cushion frame assembly
...
Other information:
Hyundai Genesis (DH) 2013-2016 Owners Manual: Pre-Safe Seat belt (PSB)
The purpose of the Pre-Safe Seat Belt is to tighten the seat belt when a collision is sensed, driving emergency braking, or when a loss of control is sensed. CAUTION The pre-safe seat belt is a supplementary system. The presafe seat belt activates only when the passenger is wearing ...
Hyundai Genesis (DH) 2013-2016 Service Manual: Electric Parking Brake (EPB) Schematic Diagrams
Schematic Diagram 1. Circuit diagram 2. Connector terminal information TerminalDescriptionCurrent (m/A) MAXMIN1Battery (+)12.5-2Battery12.5-3Parking brake switch20-4---5---6Electric parking brake switch signal 41057Electric parking brake switch signal 31058C-CAN LOW30209---10---11IGN20512 ...
© 2013-2025 www.hgenesisdh.com
