Hyundai Genesis (DH): Front Propeller Shaft Assembly / Front Propeller Shaft Repair procedures
| Removal |
| 1. |
Loosen the wheel nuts slightly. Raise the vehicle, and make sure it is securely supported. |
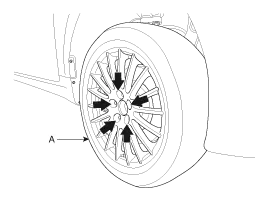
| 2. |
Remove the front wheel and tire (A) from the front hub.
|

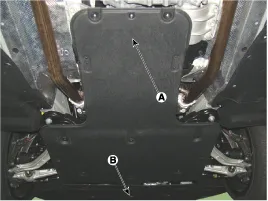
| 3. |
Remove the under cover (A) & (B).
|
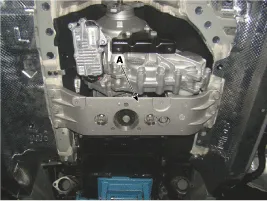
| 4. |
Remove the cross member (A) by removing bolts.
|

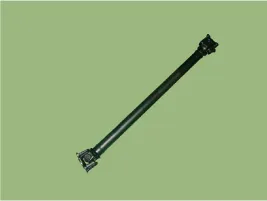
| 5. |
Remove the front propeller shaft by loosening bolts. [Both side]
|

| 6. |
Install in the reverse order of removal. |
Components Location 1. Front propeller shaft2. Transfer case3.Front differential assembly
Components Location 1. Propeller shaft2. Center bearing bracket
Other information:
Hyundai Genesis (DH) 2013-2016 Service Manual: CO2 Sensor Description and Operation
Description This system maintains the density of carbon dioxide constantly in vehicle interior by measuring the amount of carbon dioxide to increase the comfortableness and the fuel consumption rate when air conditioning system is operating.
Hyundai Genesis (DH) 2013-2016 Service Manual: Auto Defogging Actuator Description and Operation
Description The auto defogging sensor is installed on front window glass. The sensor judges and sends signal if moisture occurs to blow out wind for defogging. The air conditioner control module receives a signal from the sensor and restrains moisture and eliminates defog by the intake actuator, A/C, auto defogging actuator, blower motor
Categories
- Manuals Home
- Hyundai Genesis Owners Manual
- Hyundai Genesis Service Manual
- Body Electrical System
- ECS-G Sensor Repair procedures
- Components and Components Location
- New on site
- Most important about car
