Hyundai Genesis (DH): Cooling System / Active Air Flap(AAF) Repair procedures
| Removal and Installation |
| 1. |
Disconnect the battery "-" terminal from the trunk room. |
| 2. |
Remove the front bumper.
(Refer to Body - "Front Bumper Cover") |
| 3. |
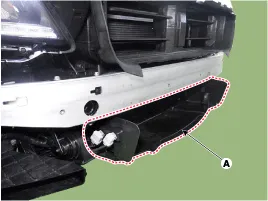
Disconnect the connector and remove the lower air guard (A).
|
| 4. |
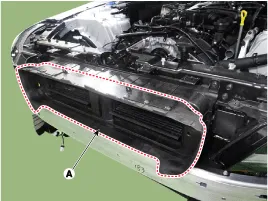
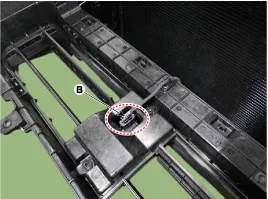
Remove the active air flap (AAF) assembly (A) and disconnect the connector (B).
|
| 5. |
To install, reverse the removal procedure. |
| 6. |
After installation, perform the "Actuation test" using GSD to check on the system. |
| Disassembly |
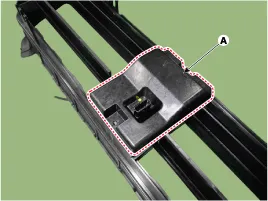
| 1. |
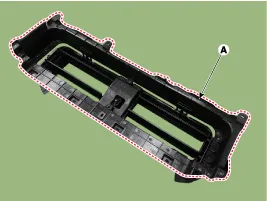
Loosen the fixing screw and then remove the active air flap rear cover (A).
|
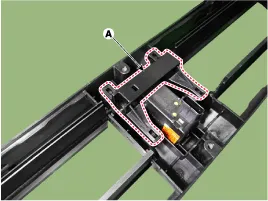
| 2. |
Remove the active air flap actuator cover (A).
|
| 3. |
Remove the active air link (A).
|
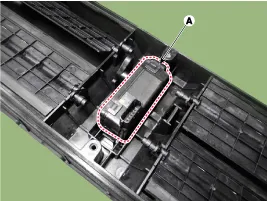
| 4. |
Remove the active air actuator (A).
|
| 5. |
To install, reverse the removal procedure. |
Schematic Diagram Circuit Diagram
Troubleshooting SymptomsPossible CausesRemedyWarning illuminated"Check active air flap system"Active Air Flap System Fail(Flap stuck)
Other information:
Hyundai Genesis (DH) 2013-2016 Service Manual: Description and Operation
System Overview RPAS (Rear Parking Assist System) is an electronic driving aid that warns the driver to be cautious while parking or driving at low speed. The sensor uses ultrasonic waves to detect objects within proximity of the vehicle. RPAS consists of four RPS sensors which are detecting the obstacles and transmit the result separat
Hyundai Genesis (DH) 2013-2016 Service Manual: Photo Sensor Repair procedures
Inspection 1. Turn the ignition switch ON. 2. Connect the GDS. 3. Emit intensive light toward the photo sensor using a lamp, and check the output voltage change. 4. The voltage will rise with higher intensive light and fall with lower intensive light.
Categories
- Manuals Home
- Hyundai Genesis Owners Manual
- Hyundai Genesis Service Manual
- 4 Wheel Drive (AWD) System
- General Information
- Rain Sensor Repair procedures
- New on site
- Most important about car

