Hyundai Genesis (DH): Windshield Wiper/Washer / Rain Sensor Repair procedures
Hyundai Genesis (DH) 2013-2016 Service Manual / Body Electrical System / Windshield Wiper/Washer / Rain Sensor Repair procedures
| Removal |
The dust or foreign substance on the rain sensor has a bad
effect upon the rain sensor capability, so protect the sensor surface
with protection cover until installing the rain sensor to bracket for
accurate function
The coupling pad on the rain sensor surface has adhesive
strength, so the coupling pad could stick to the windshield by
environment condition during the using time.
If the rain sensor is removed by force, it could be damaged.
So make sure to separate the rain sensor from the windshield carefully. |

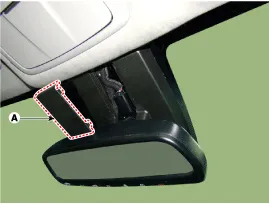
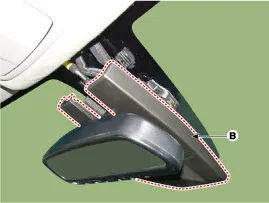
| 1. |
Remove the mirror wiring cover (A) and rain sensor cover (B).
|
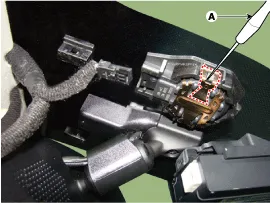
| 2. |
Disconnect the rain sensor connector (A).
|

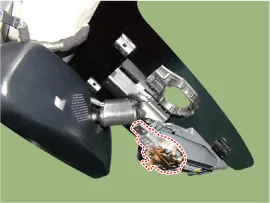
| 3. |
Be careful not to damage the cover latch by applying
excessive force. To remove the bracket, pull the holes of the bracket
outside using a small flat-head screwdriver.
|
| 4. |
Rain sensor module is attached to the front windshield by
glue. When replacing the front windshield, remove the rains sensor
module form the existing front windshield and install it on the new
front windshield. |
| Installation |
Description Integrated Rain Sensor Integrated rain sensor (A) controls three systems: front wiper, auto-light, and central air conditioner. 1. Wiper Control System When "AUTO" switch signal is received from the multi-function switch on the right, the integrated rain sensor detects the amount of rainfall. Other information:Hyundai Genesis (DH) 2013-2016 Service Manual: SpecificationsS Hyundai Genesis (DH) 2013-2016 Service Manual: Repair proceduresR Categories

Copyright © 2026 www.hgenesisdh.com - 0.0196
|
