Hyundai Genesis: Auto Head Lamp Leveling Device / Auto Head Lamp Leveling Unit Troubleshooting
Hyundai Genesis (DH) 2013-2016 Service Manual / Body Electrical System / Auto Head Lamp Leveling Device / Auto Head Lamp Leveling Unit Troubleshooting
| Inspection with GDS |
Initialization and diagnosis sequence by using GDS equipment.
The following is the summarized A/S procedure.
| No | Procedure |
| 1 | Park the vehicle on level ground |
| 2 | Tire check |
| 3 | IGN1 ON |
| 4 | Head lamp Low Beam ON |
| 5 | Connection with diagnostic tool |
| 6 | Initial command by diagnostic tool |
| 7 | Clear DTC Code |
| 8 | IGN1 OFF > ON |
| 9 | Re- Connection with diagnostic tool |
| 10 | Checking of HLLD output value as 15% and DTC Code |
| 11 | HLLD actuating by diagnostic tool command |
| 12 | Head lamp mechanical Initial Aiming |
|
| 1. |
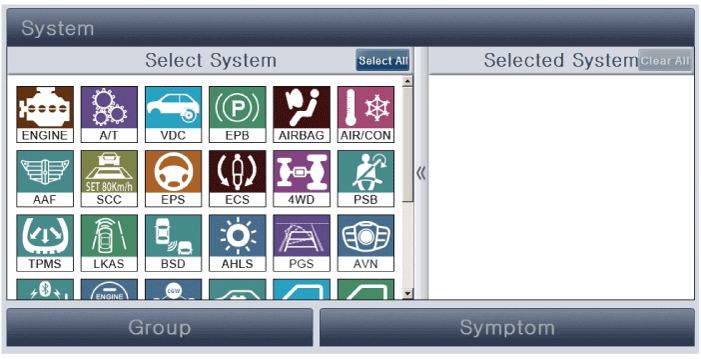
Select the vehicle model and "Auto Head Lamp Leveling System (AHLS)"
|
| 2. |
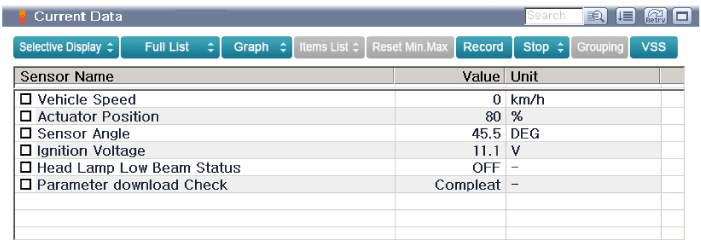
Check the sensor output value and data of each item on the system information screen.
|
| 3. |
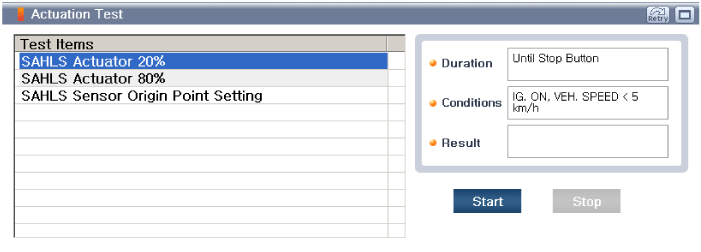
To perform functional test on AHLS outputs, select "Actuation Test".
|
| 4. |
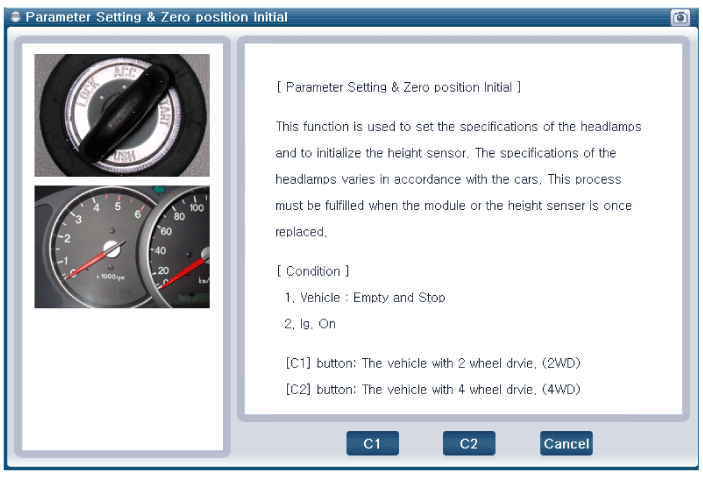
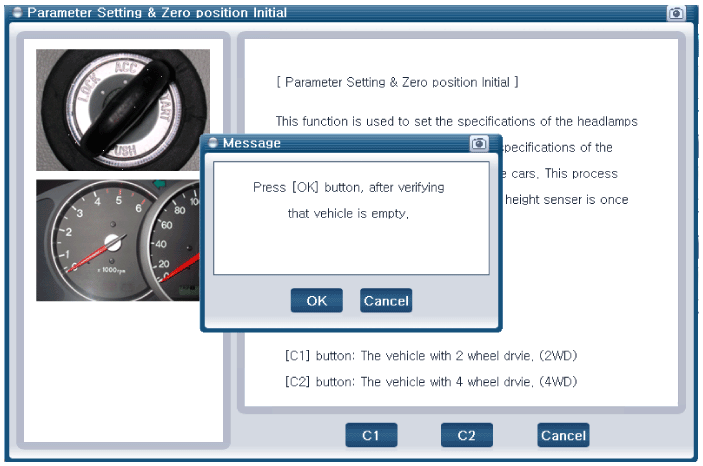
Select " Parameter setting & Zero position Initial".
|
| 5. |
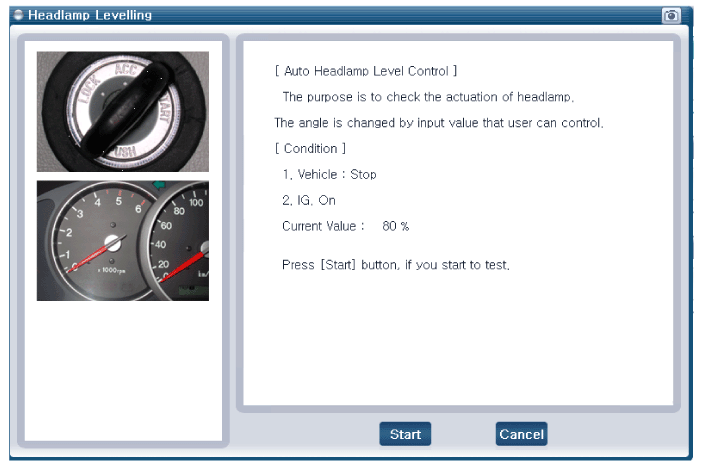
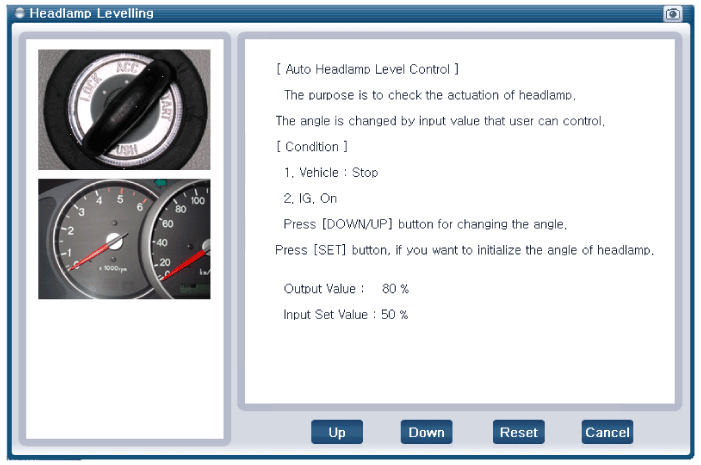
Confirm that AHLS operate forcefully in "Head lamp leveling" menu.
|
| 6. |
To check the DTC of the head lamp leveling system, select "Diagnostic trouble codes" |
 Auto Head Lamp Leveling Unit Repair procedures
Inspection
1.
Ignition "ON".
2.
Turn on the head lamp switch.
3.
Check that the aim of the head lamp changes smoothly when the head lamp leveling device switch is turned on.
4.
If it ...
Other information:
Hyundai Genesis (DH) 2013-2016 Service Manual: Components and Components Location
Component Location 1. Cowl top cover ...
Hyundai Genesis (DH) 2013-2016 Service Manual: Important Safety Notice
Important Safety Notice Proper service methods and repair procedures are essential for safe, reliable operation of all motor vehicles as well as personal safety of the operator. The service procedures and descriptions in this shop manual provide general directions for service and repair. ...
© 2013-2025 www.hgenesisdh.com


